In this guide we will cover the process of setting up your Minecraft server so that in can support multiple different worlds on the same server. This is achieved via a plugin called Multiverse. It requires your server to be running the Spigot or Bukkit type of server.
(If your server is not currently running Spigot or Bukkit, see our relevant guides that follow on how to get that setup)
Bukkit Setup → Here
Spigot Setup → Here
How to set up Multiverse:
Installation:
- Download the latest version of Multiverse Core from → Here to your PC.
There are various additional Multiverse plugins which add additional functionality - as shown in the table below.
-
Multiverse-Portals features:
- Make custom portals to go to any destination!
- Restrict users from using specific portals using permissions.
- Charge users to use specific portals!
- Exempt users from portal fees.
- Launch users through the air when they enter a Multiverse Portal!
- Allow minecarts/boats through Multiverse Portals.
- For more information, visit the wiki for Multiverse-Portals.
-
Multiverse-NetherPortals features:
- Have nether and end worlds per for any of your overworlds!
- Have custom nether and end portals in a world go to a specific world
- Custom World Scaling when using NetherPortals! (All types of worlds, normal, skylands and nether supported! Even custom generators!)
- For more information, visit the wiki for Multiverse-NetherPortals.
-
Multiverse-Inventories features:
- Have separated players stats and inventories per world or per group of worlds.
- Choose what each group of worlds share: Inventories, Last location (in a world before teleporting), Hunger, Health, Exp, and Bed Spawns.
- For more information, visit the wiki for Multiverse-Inventories.
-
- Login to your Gamepanel.
- Click "File Manager"
- Click to open the plugins folder.
- Press "Upload" on the menu bar.
- Select the "Multiverse core" .Jar file you downloaded in Step 1 and wait for the upload to complete.
- Once uploaded, that's it for the installation process, now we need to configure Multiverse so it can find your server's current worlds.
Configuration (Importing your current worlds):
- You must be a server operator (OP) in order to configure Multiverse. If you aren't already a server OP then please follow this guide → How to OP a player
- Login to your server.
- Type:
/mv import WORLD ENVNow, you'll have to replace WORLD with your world's folder name and ENV with the environment type.
There are 3 currently available:normal,netherandend. If you forget these, you can always use/mv env. It will always list all of these choices.
Repeat this process for your overworld, nether and end worlds.
Configuration (Creating a new world):
-
To create a new world, type the following command:
/mv create {NAME} {ENV} [-s SEED] [-g GENERATOR[:ID]] [-t TYPE] [-a true|false]All the parameters are explained here → Create Command , We will do a simple example for now, which is:
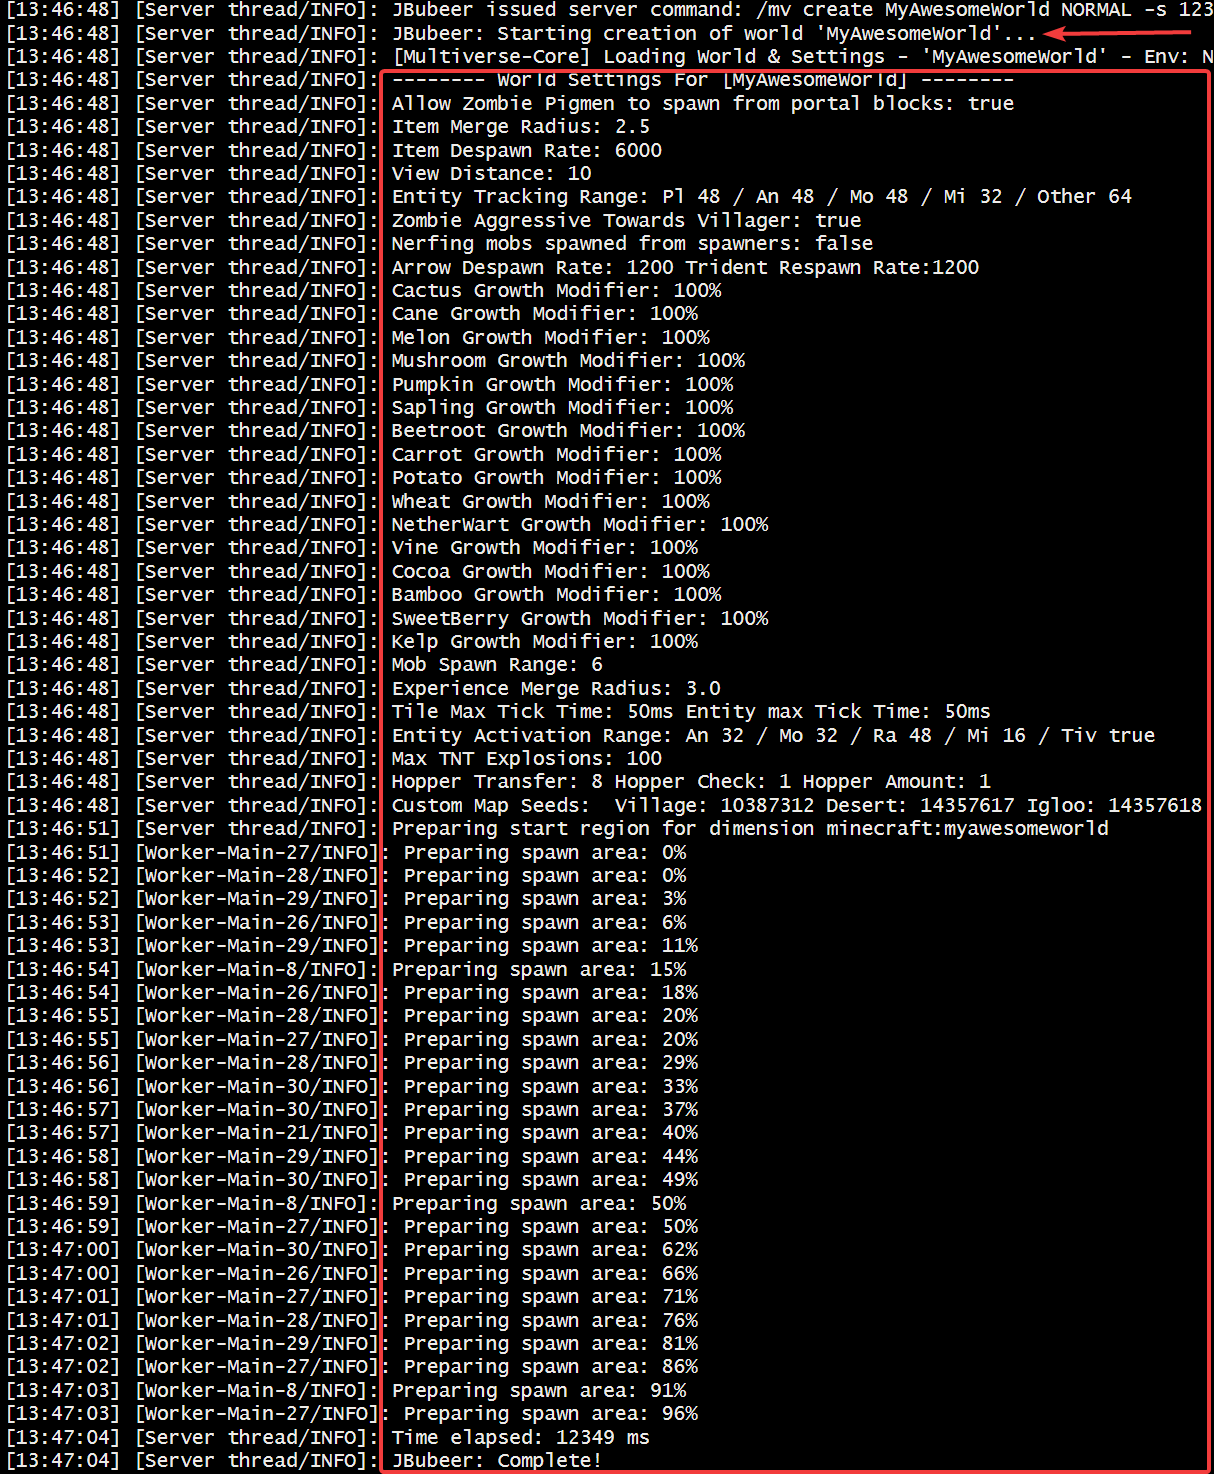
/mv create MyAwesomeWorld NORMAL -s 123456This will take a little while, you can see progress in your server console.

This creates a world named MyAwesomeWorld with a
NORMAL(overworld) type environment based off of the seed 123456.
- You can create very simple worlds, or very complex worlds based off of specific world generator settings, this is out of the scope of this guide but the information can be found here: Create Command.
-
If you decide to use spaces in your world name, whenever people want to use
/mv tp,/mv modifyor any command that takes the world name as a parameter, they will have to surround the name in quotes, like so:/mv tp "My Awesome World"/mv tp My Awesome Worldwill NOT work.
Configuration (Navigating to a new world):
- The teleport command allows you to teleport yourself or others to a specified world.
- To do this, type the following command:
/mv tp [PLAYER] {WORLD}
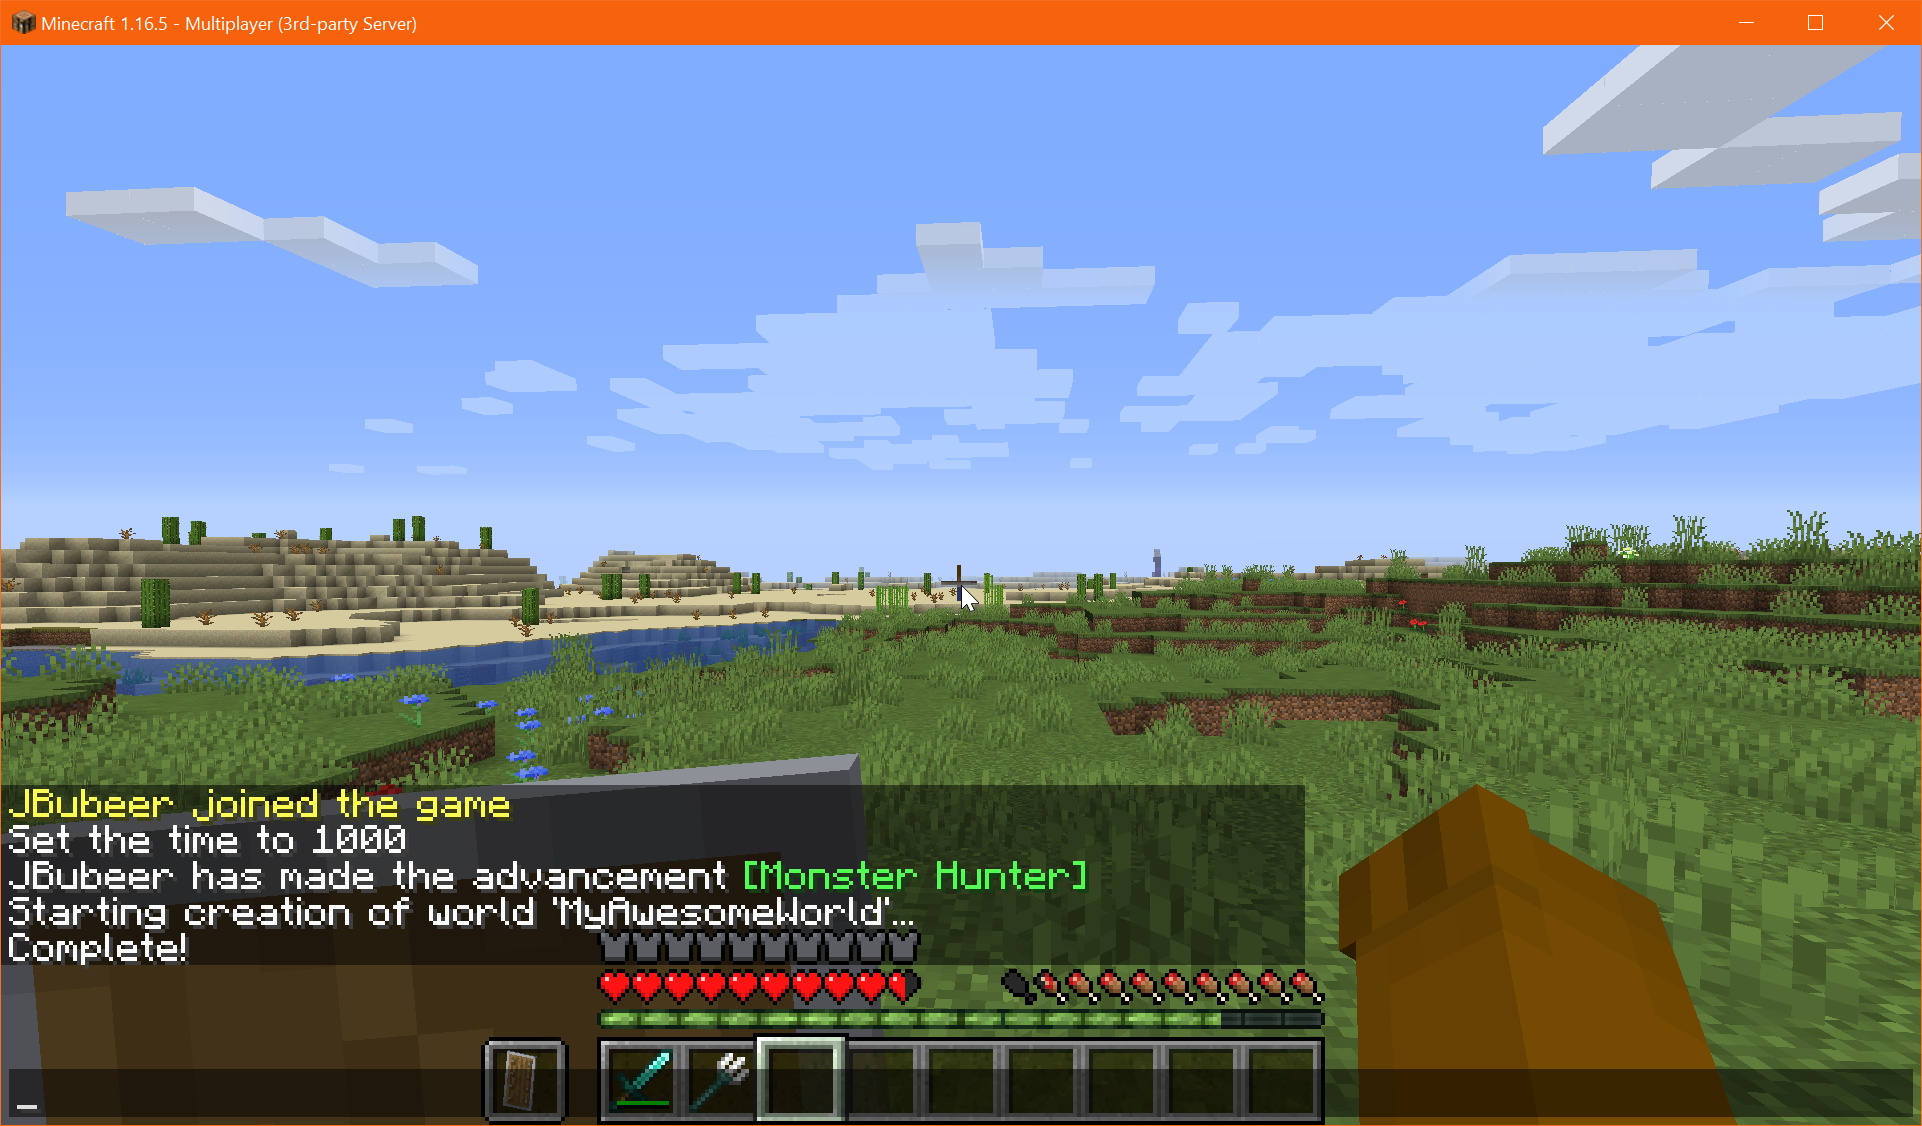
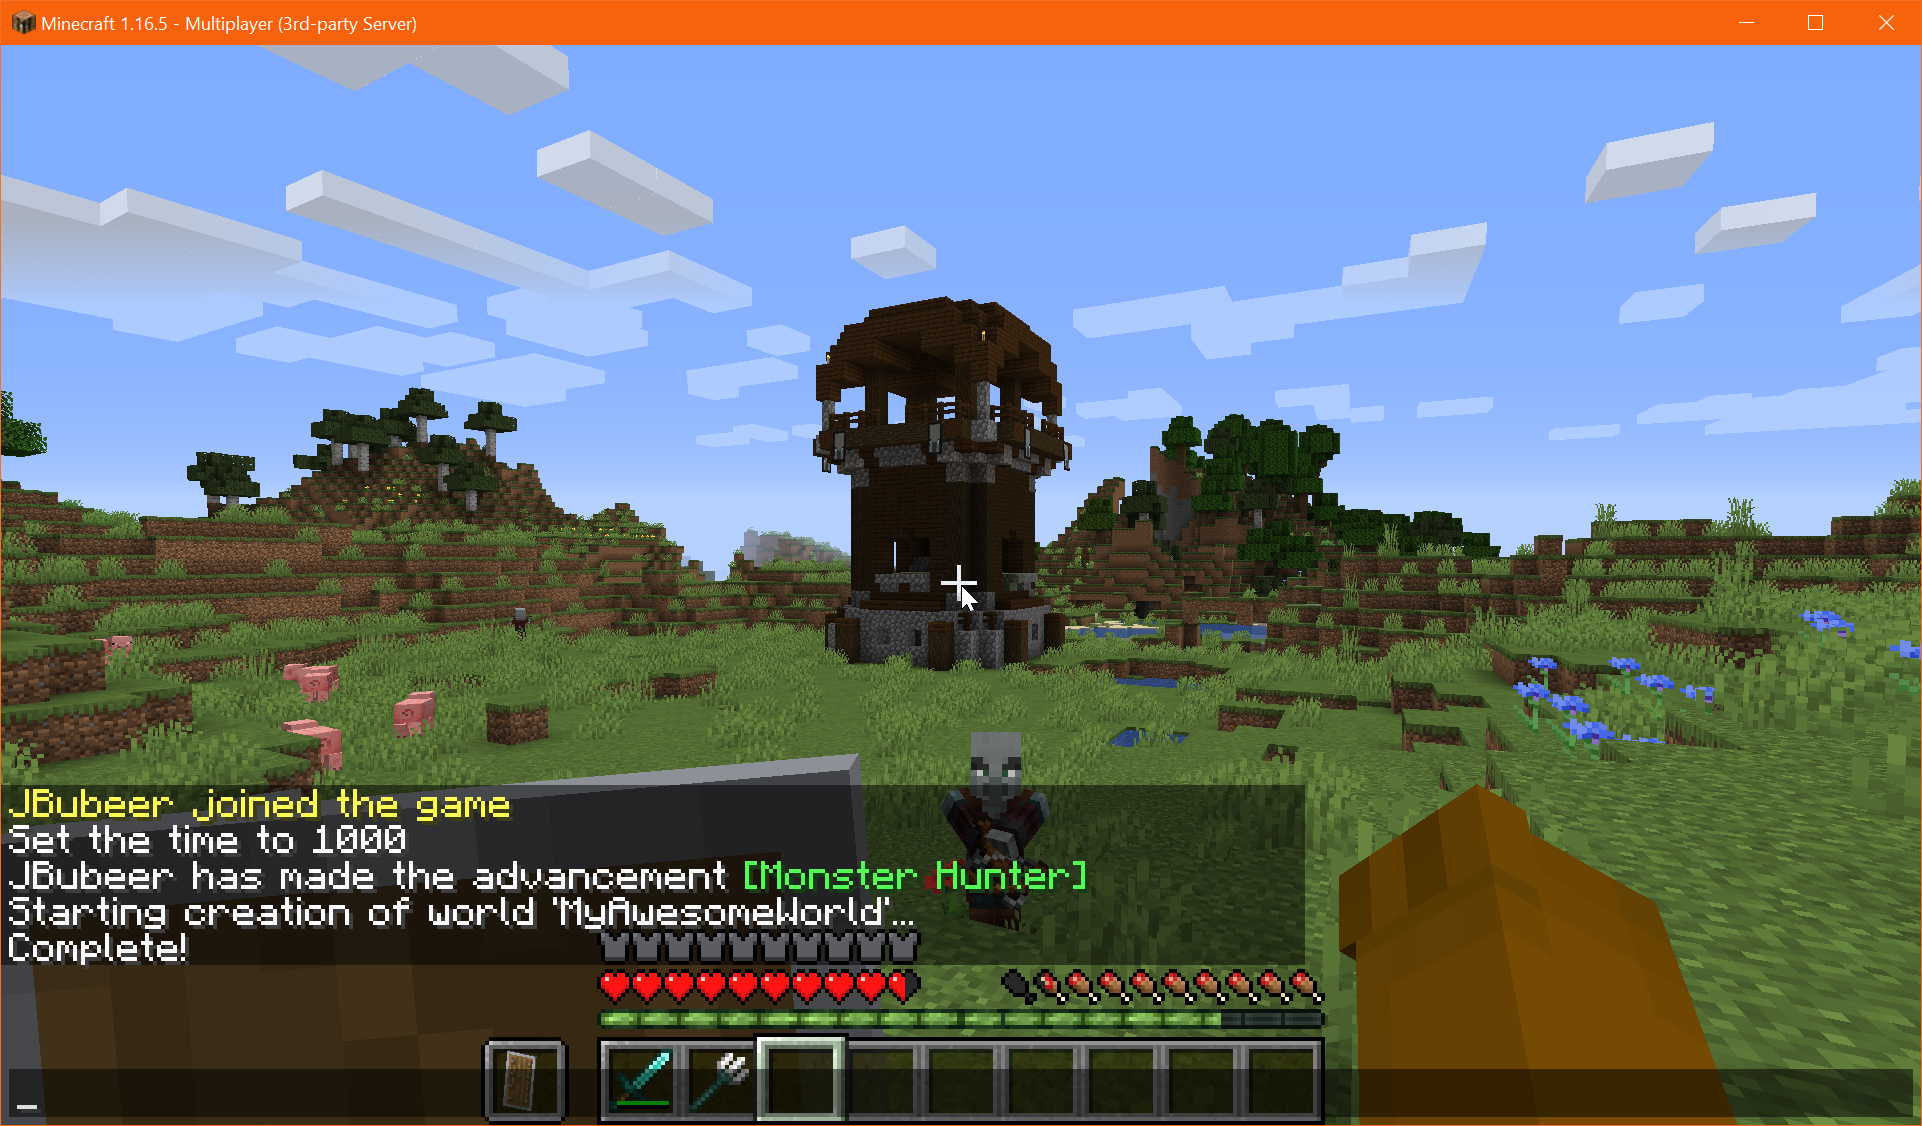
In our example, the command would be:/mv tp JBubeer MyAwesomeWorld
- For more information regarding the teleport command please see here → Teleport Command
There are a lot more commands available when using Multiverse, especially if you use the add-on plugins for additional functionality, if you would like to read more please see their wiki here → https://github.com/Multiverse/Multiverse-Core/wiki/Command-Reference
Looking for a game server host known for brilliant 24/7 customer support and quality hardware?
Try a Pingperfect Minecraft server today! https://pingperfect.com/gameservers/minecraft-game-server-hosting-rental.php

